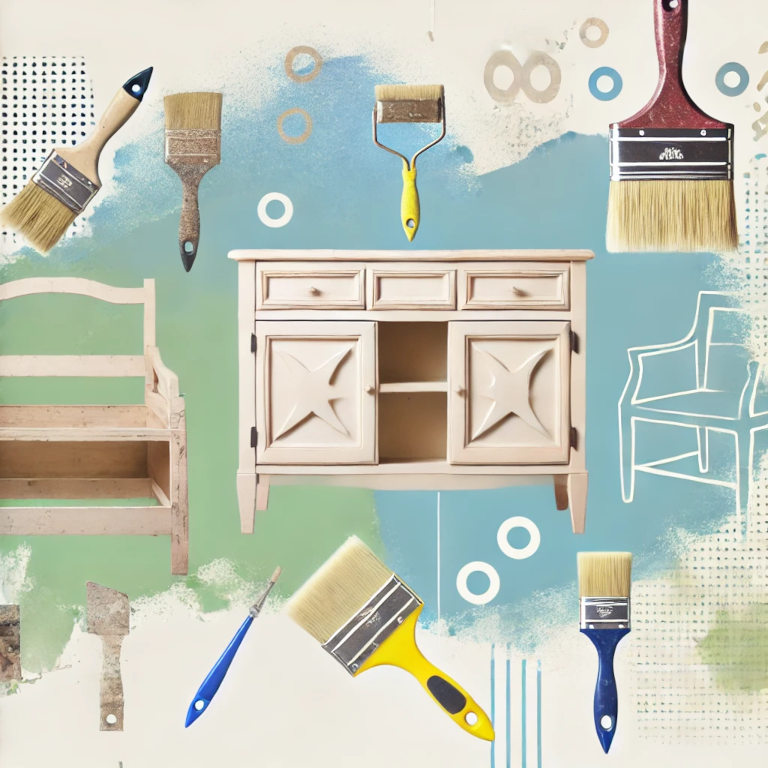
Giving your furniture a fresh, new look is an excellent way to breathe life into your living space without spending a fortune. DIY furniture makeovers have become increasingly popular, offering an opportunity to customize pieces to fit your style while reducing waste. Whether you’re updating an old chair, dresser, or coffee table, a DIY furniture makeover can completely transform the look and feel of your home.
In this article, we’ll cover the essential steps for a successful DIY furniture makeover and explore some creative ideas to inspire your next project.
Why DIY Furniture Makeovers?
Before diving into the process, it’s worth understanding the appeal of DIY furniture makeovers. First, they are a sustainable approach to home decor. Instead of buying new furniture, upcycling old pieces reduces waste and gives unwanted items a new lease on life. Additionally, these makeovers offer a personalized touch, allowing you to create something that perfectly fits your aesthetic, whether that’s modern, rustic, vintage, or eclectic.
DIY furniture projects are also budget-friendly. With some paint, tools, and creativity, you can completely overhaul a piece of furniture without the high price tag of buying new. Plus, the satisfaction of turning something outdated into a statement piece is unmatched.
1. Start with the Right Piece
The first step in any DIY furniture makeover is selecting the right piece to transform. Look for furniture that is structurally sound, even if the surface appears worn or outdated. Second-hand stores, garage sales, and even your own home are great places to find pieces with makeover potential.
Consider the following when choosing your piece:
- Material: Solid wood is ideal for refinishing and painting, but don’t overlook metal or laminate pieces, which can also be transformed with the right techniques.
- Shape and structure: Even if the finish is outdated, focus on the shape and structure of the furniture. Look for interesting details, sturdy frames, and timeless designs.
- Functionality: Think about how you’ll use the piece. Will it serve a new purpose, or will it simply be updated to match your decor?
2. Preparation is Key
Preparation is the most important part of any successful furniture makeover. Skipping these steps could lead to poor results and a shorter lifespan for your finished piece.
Clean the Surface
Start by thoroughly cleaning the furniture to remove dust, dirt, and grime. Use a mild soap and water solution for wood pieces, and for metal or laminate surfaces, consider a degreaser to ensure the surface is free of oils or sticky residue. Once cleaned, allow the piece to dry completely.
Sanding
For wooden pieces, sanding is essential to achieve a smooth, even surface for paint or stain to adhere. Use medium-grit sandpaper (80-120 grit) to remove the old finish, followed by fine-grit sandpaper (220 grit) for a smooth surface. If the piece is laminate or metal, light sanding can still help improve adhesion, even if the original surface is not absorbent.
After sanding, wipe down the piece with a damp cloth to remove any dust. Proper sanding will ensure that the paint or stain applies evenly and lasts longer.
Prime the Surface
Priming is especially important if you’re painting over dark wood, laminate, or glossy finishes. Choose a primer that matches your top coat (e.g., water-based primer for water-based paints) and apply it evenly across the surface. This will help the paint adhere better and prevent peeling or flaking down the line.
3. Choose Your Finish: Paint or Stain
Once the prep work is done, it’s time to decide whether you’ll paint or stain your furniture. Both options offer stunning results, depending on the look you’re going for.
Painting
Painting is a popular choice for furniture makeovers because it allows for bold, creative color choices and can cover imperfections. Chalk paint, milk paint, and latex paint are all excellent options for DIY furniture.
- Chalk paint: Known for its matte, velvety finish, chalk paint is easy to work with and requires minimal prep. It can also be distressed for a vintage or shabby-chic look.
- Milk paint: Ideal for a more rustic, natural look, milk paint provides a soft, uneven finish that can give furniture an aged, weathered appearance.
- Latex paint: If you’re looking for a durable, modern finish, latex paint offers a wide range of colors and can create a smooth, glossy appearance.
When painting, always apply thin coats, allowing each layer to dry fully before adding the next. This prevents drips and ensures a smooth finish. Finish with a protective topcoat, like polyurethane or wax, to seal the paint and protect the surface.
Staining
If you want to showcase the natural grain of the wood, staining is the way to go. Choose a wood stain in a color that complements your decor, whether it’s a rich walnut, golden oak, or contemporary gray.
- Oil-based stains: These provide a deep, rich finish but take longer to dry.
- Water-based stains: These dry faster and offer easy cleanup, though they may raise the grain of the wood.
After applying the stain, seal the piece with a protective topcoat to protect the wood and enhance the stain’s color.
4. Add New Hardware
Swapping out old hardware for new handles, knobs, and pulls can make a huge difference in the final look of your DIY furniture project. Choose hardware that complements your design theme—sleek, modern handles for a minimalist makeover, or vintage-style knobs for a more rustic feel.
When choosing hardware, make sure it fits the existing holes in the furniture, or be prepared to drill new holes if necessary. This small detail can have a big impact on the overall aesthetic of the piece.
5. Get Creative with Decorative Techniques
Take your DIY furniture makeover to the next level by incorporating decorative techniques. From stenciling to decoupage, these methods add a personal touch to your furniture and make it truly one-of-a-kind.
- Stenciling: Use stencils to create intricate designs or patterns on your piece. This works well on tabletops, drawer fronts, or even the sides of cabinets.
- Distressing: For a vintage or farmhouse look, use sandpaper to lightly distress painted surfaces, revealing the wood or primer underneath for a weathered effect.
- Decoupage: Add unique patterns or images to your furniture by decoupaging with decorative paper, fabric, or even wallpaper.
These creative techniques allow you to inject your personal style into your furniture while adding visual interest and texture.
Summary
A DIY furniture makeover is a rewarding way to refresh your home decor while expressing your creativity. Whether you choose to paint, stain, or add unique hardware, the possibilities are endless. With the right preparation and some thoughtful design choices, you can transform any piece into a standout element of your space. Plus, upcycling old furniture is a sustainable and budget-friendly way to give your home a fresh look.