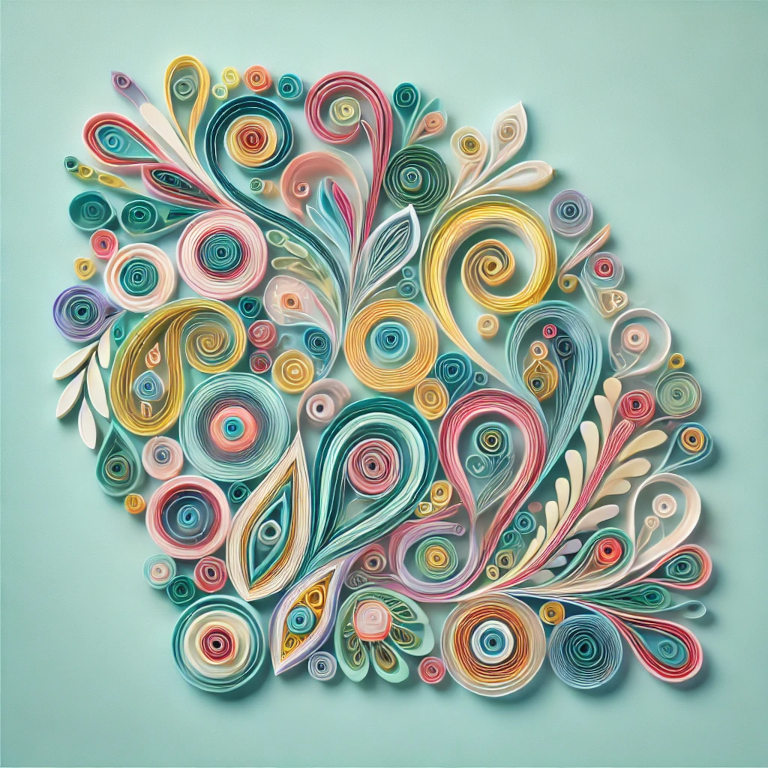
Paper quilling, also known as filigree, is a captivating paper craft technique that involves rolling, shaping, and gluing strips of paper to create intricate and beautiful designs. Whether you’re a seasoned crafter or a beginner, DIY paper quilling offers endless possibilities for creativity and self-expression. This art form is easy to learn, requires minimal materials, and can be used to decorate cards, frames, jewelry, and home décor.
In this article, we will explore the basics of DIY paper quilling, including the essential tools, techniques, and ideas to help you get started with this delicate and rewarding craft.
What is Paper Quilling?
Paper quilling is an ancient art form that dates back to the Renaissance, where it was used to decorate religious objects and book covers. The technique involves rolling thin strips of paper into coils and then shaping those coils into various patterns. These paper shapes are then glued onto a surface to create decorative designs.
Over the years, quilling has evolved into a popular DIY craft used in greeting cards, wall art, gift embellishments, and more. What makes quilling unique is the intricate detail that can be achieved with just a few simple tools and paper strips.
Essential Tools for Paper Quilling
Before starting with paper quilling, it’s important to gather a few essential tools and materials. Here’s what you’ll need:
1. Paper Strips
The core material in paper quilling is thin strips of paper, usually around 3mm to 10mm wide. These strips come in a wide variety of colors, textures, and thicknesses, giving you the flexibility to experiment with different looks. You can purchase pre-cut quilling paper or cut your own from lightweight paper or cardstock.
2. Quilling Tool
A quilling tool is used to roll the paper strips into tight coils. There are two main types of quilling tools:
- Slotted tool: A tool with a small slot at the tip, making it easy to insert and roll the paper strip.
- Needle tool: A simple pointed tool for more advanced quillers, offering greater control for finer details.
For beginners, a slotted tool is often the best choice because it holds the paper more securely, making the coiling process easier.
3. Glue
A small amount of glue is used to secure the rolled and shaped paper strips in place. Clear-drying glue or white craft glue is ideal for paper quilling. A fine-tip applicator can be helpful to avoid excess glue and maintain neatness in your designs.
4. Tweezers
Tweezers are used to handle and position small coils and paper shapes precisely, ensuring your designs stay neat and symmetrical.
5. Quilling Board
A quilling board features small holes where you can place coils to ensure uniformity in size and shape. This is especially useful for beginners who want to create consistent designs.
6. Scissors
Scissors are necessary for cutting paper strips to the desired length and trimming excess material.
Basic Paper Quilling Techniques
To create beautiful quilled designs, it’s important to master a few basic quilling techniques. These foundational shapes can be combined to make more complex patterns and designs.
1. Tight Coil
A tight coil is one of the most basic shapes in quilling. To create a tight coil, roll the paper strip tightly around the quilling tool. Once the entire strip is coiled, remove it from the tool and secure the end with a tiny drop of glue. Tight coils are the building blocks of many quilling designs and can be shaped into other forms.
2. Loose Coil
A loose coil starts the same way as a tight coil, but after removing it from the tool, you allow it to loosen slightly before gluing the end. Loose coils are often used to create larger, more open designs.
3. Teardrop Shape
The teardrop shape is made from a loose coil. After creating the loose coil, pinch one side to form a pointed tip, creating a teardrop effect. This shape is commonly used in floral designs and decorative patterns.
4. Marquise Shape
A marquise shape is formed by pinching both sides of a loose coil, creating a pointed oval shape. This shape is versatile and can be used in flowers, leaves, and other intricate designs.
5. Scrolls
Scrolls are elegant shapes made by rolling a paper strip partially, leaving the remaining portion uncoiled. Scrolls add movement and flow to your quilling designs and are often used in borders and embellishments.
Creative Ideas for DIY Paper Quilling
Now that you’re familiar with the basic tools and techniques, it’s time to explore some creative applications for your paper quilling projects. Whether you’re making personalized gifts or home décor, quilling offers endless opportunities for unique designs.
1. Greeting Cards
One of the most popular uses for paper quilling is creating beautifully embellished greeting cards. You can craft flowers, hearts, or geometric shapes to adorn the front of birthday, wedding, or holiday cards. The intricate details of quilled designs make each card a personalized work of art.
2. Wall Art
Transform plain walls into eye-catching displays with quilled wall art. You can create abstract patterns, animals, or nature-inspired designs using a combination of tight and loose coils. To make the art pop, choose contrasting colors that complement your home’s décor.
3. Jewelry
Paper quilling isn’t limited to flat designs; you can also create three-dimensional items like earrings, pendants, or brooches. By using a waterproof sealer or varnish, quilled jewelry can become a durable and lightweight accessory. Experiment with different shapes, colors, and textures to create one-of-a-kind pieces.
4. Gift Wrapping Decorations
Add a personal touch to gift wrapping by incorporating quilled embellishments. Whether it’s a delicate flower, a snowflake, or a decorative border, quilling can elevate simple gift wrap into something extraordinary.
5. Scrapbooking
Paper quilling can add texture and dimension to scrapbook pages. Create quilled accents such as frames, titles, or corner decorations to highlight special photos or memories.
Tips for Successful Paper Quilling
To make the most of your DIY paper quilling projects, keep these tips in mind:
- Start simple: Begin with basic shapes and easy designs to build your confidence before moving on to more intricate projects.
- Practice precision: Neatness is key in paper quilling. Use tweezers and a fine-tip glue applicator to keep your designs clean and detailed.
- Experiment with colors: Paper quilling is all about creativity. Don’t be afraid to mix and match colors to create vibrant, eye-catching patterns.
- Be patient: Quilling is a delicate art that requires patience. Take your time to ensure each coil, shape, and pattern is properly aligned and glued.
Summary
DIY paper quilling is a rewarding and versatile craft that allows you to create intricate, eye-catching designs with just a few simple tools and materials. By mastering basic techniques like tight coils, teardrops, and marquise shapes, you can craft everything from greeting cards to wall art and jewelry. With its endless possibilities, paper quilling is a great way to express your creativity while adding beauty to your home and personal projects.


