Candle making is a delightful and rewarding DIY craft that allows you to create personalized, aromatic candles for your home or as thoughtful gifts. This creative process is not only enjoyable but also provides an opportunity to express your style and preferences through custom scents, colors, and designs. As an expert in DIY and Crafts, I will guide you through the essentials of DIY candle making, from selecting materials to mastering techniques. This article aims to provide you with the knowledge and skills to create beautiful, high-quality candles at home.
Benefits of DIY Candle Making
Creating your candles offers numerous advantages:
- Customization: Tailor your candles to your preferences, choosing your favorite scents, colors, and shapes.
- Cost-Effective: Making candles at home can be more affordable than purchasing high-end candles.
- Creative Expression: Candle making is a fun and therapeutic activity that allows for creative expression.
- Personalized Gifts: Handmade candles make thoughtful and personalized gifts for friends and family.
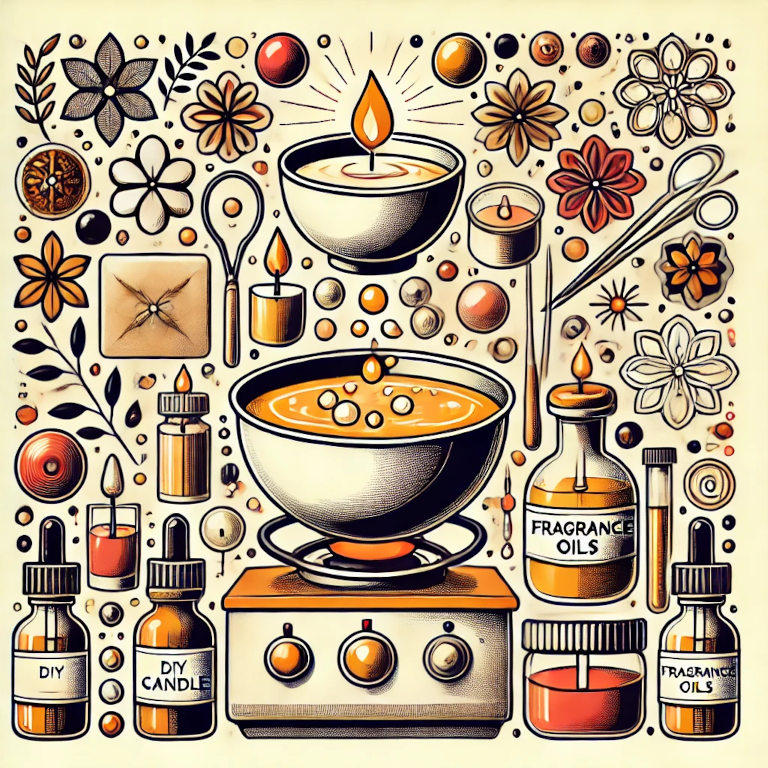
Essential Materials and Tools
Before you begin, gather the necessary materials and tools for candle making:
Materials
- Wax: The primary component of candles, available in various types such as paraffin, soy, beeswax, and palm wax.
- Wicks: Essential for burning the candle. Choose the appropriate wick size and material based on the type and size of your candle.
- Fragrance Oils: Add scent to your candles. Use high-quality fragrance oils specifically designed for candle making.
- Dyes: Optional, for adding color to your candles. Choose candle-safe dyes that blend well with your wax.
- Containers or Molds: Containers for container candles (e.g., jars, tins) or molds for pillar and shaped candles.
- Adhesive: To secure the wick at the bottom of the container or mold.
Tools
- Double Boiler: For safely melting the wax. You can also use a heatproof bowl over a pot of simmering water.
- Thermometer: To monitor the temperature of the wax.
- Stirring Utensil: A heat-resistant spoon or spatula for stirring the wax.
- Wick Centering Device: To keep the wick centered while the wax cools and hardens.
- Pouring Pitcher: For pouring the melted wax into containers or molds.
- Scissors: For trimming the wick.
Step-by-Step Guide to DIY Candle Making
Follow these steps to create your own candles:
1. Prepare Your Workspace
Set up a clean, well-ventilated workspace. Cover surfaces with newspaper or a protective cloth to catch any spills. Gather all your materials and tools within easy reach.
2. Choose Your Wax
Select the type of wax based on your preferences and the type of candle you want to make. Soy wax and beeswax are popular for their natural properties, while paraffin wax is known for its excellent scent throw and color retention.
3. Measure and Melt the Wax
Measure the amount of wax needed for your candle, keeping in mind that it will reduce in volume as it melts. Use a double boiler to melt the wax, stirring occasionally. Heat the wax to the recommended temperature, typically between 160°F and 180°F (71°C and 82°C), depending on the type of wax.
4. Prepare the Wick
While the wax is melting, prepare the wick. Attach the wick to the bottom of your container or mold using adhesive. If using a container, secure the wick in the center with a wick centering device.
5. Add Fragrance and Color
Once the wax has melted and reached the correct temperature, remove it from heat. Add fragrance oil according to the manufacturer’s recommended ratio (usually around 6-10% of the total wax weight). Stir thoroughly to ensure the fragrance is evenly distributed. If using dye, add it at this stage and stir until fully dissolved.
6. Pour the Wax
Carefully pour the melted wax into your prepared container or mold. Pour slowly and steadily to avoid creating air bubbles. Leave a small amount of wax in the pitcher for a top-up later.
7. Cool and Top-Up
Allow the candle to cool and harden. As it cools, a sinkhole may form around the wick. Reheat the leftover wax and pour it into the sinkhole to create a smooth, even surface.
8. Trim the Wick
Once the candle has fully cooled and hardened, trim the wick to about 1/4 inch (6 mm) above the wax surface. This helps ensure a clean, even burn.
Tips for Successful Candle Making
To achieve the best results, consider these tips:
1. Monitor Temperature
Maintaining the correct temperature is crucial for a successful candle. Use a thermometer to ensure the wax, fragrance oil, and dye are at the right temperatures.
2. Experiment with Fragrances
Blend different fragrance oils to create unique scents. Start with small batches to test your combinations before committing to larger quantities.
3. Test Burn
Conduct a test burn with each new batch of candles to ensure they burn evenly and emit the desired scent throw. Adjust wick size and fragrance concentration as needed.
4. Use Quality Ingredients
Invest in high-quality wax, wicks, and fragrance oils. Quality ingredients make a significant difference in the performance and longevity of your candles.
Summary
DIY candle making is a fulfilling and creative craft that allows you to produce personalized, aromatic candles for yourself or as gifts. By understanding the essential materials, tools, and techniques, you can create high-quality candles that reflect your style and preferences. Follow the step-by-step guide and tips provided to master the art of candle making and enjoy the many benefits of this delightful DIY activity. Embrace your creativity and start making your own beautiful candles today.