DIY soap making is a rewarding and creative craft that allows you to produce customized, natural soaps tailored to your preferences and needs. As an expert in DIY and Crafts, I will guide you through the essentials of soap making, from understanding the basics to exploring advanced techniques. This article aims to provide a comprehensive overview of DIY soap making, helping you create beautiful, functional soaps at home.
Understanding DIY Soap Making
Soap making involves the chemical process of saponification, where fats or oils react with an alkali (usually lye) to produce soap and glycerin. This process can be achieved through various methods, each offering unique benefits and challenges.
Benefits of DIY Soap Making
1. Customization: Create soaps that suit your skin type and preferences by choosing specific ingredients, scents, and colors.
2. Natural Ingredients: Control the quality of your soap by using natural, organic ingredients, avoiding harsh chemicals and additives.
3. Creativity: Express your creativity by experimenting with different shapes, colors, fragrances, and additives like herbs and exfoliants.
4. Cost-Effective: Making soap at home can be more economical than purchasing high-quality artisanal soaps.
5. Eco-Friendly: Reduce waste by using sustainable ingredients and minimal packaging.
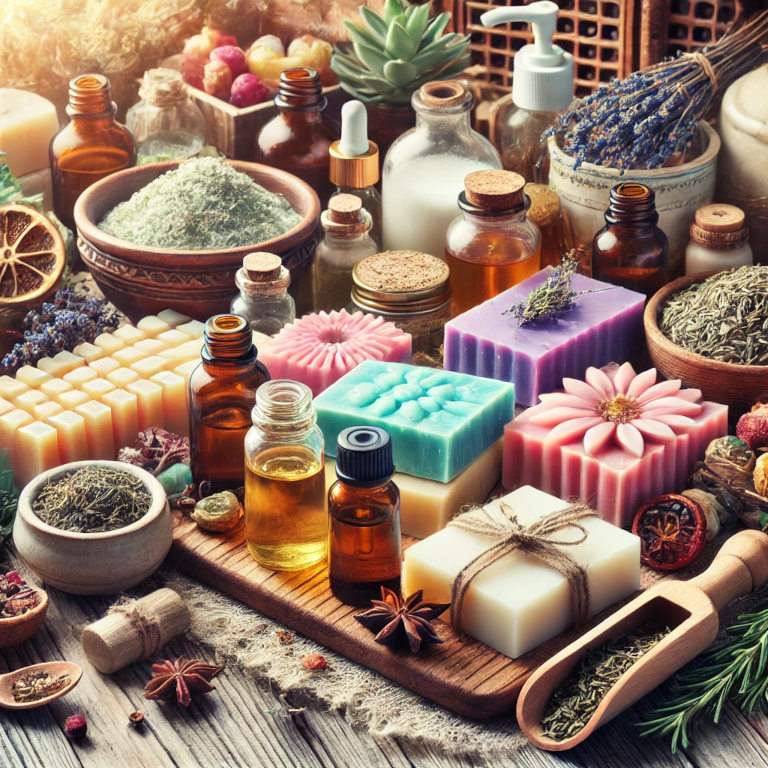
Basic Ingredients and Tools
1. Oils and Butters: Commonly used oils include olive oil, coconut oil, and palm oil. Butters like shea and cocoa butter add moisturizing properties.
2. Lye: Sodium hydroxide (lye) is essential for saponification. Handle with care, as it is a caustic substance.
3. Water: Distilled water is preferred to avoid impurities.
4. Essential Oils: Add natural fragrances and therapeutic benefits with essential oils like lavender, peppermint, and eucalyptus.
5. Colorants: Natural colorants such as clays, herbs, and spices can be used to add color to your soap.
6. Additives: Herbs, exfoliants (like oats or coffee grounds), and other additives can enhance the soap’s properties.
7. Equipment: Basic tools include a digital scale, mixing bowls, a stick blender, silicone molds, safety gear (gloves and goggles), and a thermometer.
Basic Soap Making Methods
1. Cold Process Soap Making: Cold process is the traditional method of soap making. It involves mixing lye and water with oils and letting the mixture cure for several weeks.
- Steps:
- Measure and melt your oils and butters.
- Carefully mix lye with water and let it cool.
- Combine the lye solution with the melted oils.
- Blend the mixture until it reaches trace (a thick, pudding-like consistency).
- Add essential oils, colorants, and additives.
- Pour into molds and let it set for 24-48 hours.
- Remove from molds and let the soap cure for 4-6 weeks.
2. Melt and Pour Soap Making: This beginner-friendly method uses a pre-made soap base that you melt, customize, and pour into molds.
- Steps:
- Cut the soap base into small pieces.
- Melt the base in a microwave or double boiler.
- Add essential oils, colorants, and additives.
- Pour the mixture into molds.
- Let it cool and harden, then remove from molds.
3. Hot Process Soap Making: Similar to cold process but involves cooking the soap mixture, which speeds up the saponification process and reduces curing time.
- Steps:
- Follow the cold process steps until the mixture reaches trace.
- Cook the mixture in a slow cooker on low heat, stirring occasionally.
- Once the soap reaches the gel phase, add essential oils, colorants, and additives.
- Pour into molds and let it set for 24 hours.
- Remove from molds and use immediately or let it cure for a few days.
Tips for Successful Soap Making
1. Safety First: Always wear gloves and goggles when handling lye, and work in a well-ventilated area.
2. Accurate Measurements: Use a digital scale to measure ingredients precisely. Incorrect measurements can affect the soap’s quality and safety.
3. Quality Ingredients: Choose high-quality oils, butters, and essential oils to ensure the best results.
4. Patience: Allow your soap to cure properly. Rushing the process can result in soap that is too soft or irritating to the skin.
5. Experiment: Don’t be afraid to try new combinations of oils, scents, and additives to create unique soaps.
Advanced Techniques
1. Swirling: Create intricate patterns by swirling different colored soap mixtures together before pouring into molds.
2. Layering: Pour layers of different colored or scented soap mixtures to create a striped effect.
3. Embedding: Embed small soap shapes or objects into your soap for a decorative touch.
Summary
DIY soap making is a delightful and rewarding craft that allows you to create customized, natural soaps tailored to your preferences. By understanding the basics of soap making, choosing quality ingredients, and experimenting with various techniques, you can produce beautiful, functional soaps at home. Embrace the art of soap making to enhance your creative skills and enjoy the benefits of natural, handmade soaps.