DIY jewelry making is more than just a craft; it’s an art form that allows individuals to express their creativity while producing beautiful, personalized adornments. Whether you’re a novice looking to start a new hobby or a seasoned crafter seeking to refine your skills, this guide dives into the essential aspects of DIY jewelry making, providing you with all the knowledge needed to get started.
Understanding DIY Jewelry Making
DIY jewelry making involves creating jewelry from scratch or assembling pre-made components to design unique pieces. This craft not only offers an outlet for creative expression but also serves as a practical way to make thoughtful gifts or even start a business.
Materials Needed for DIY Jewelry Making
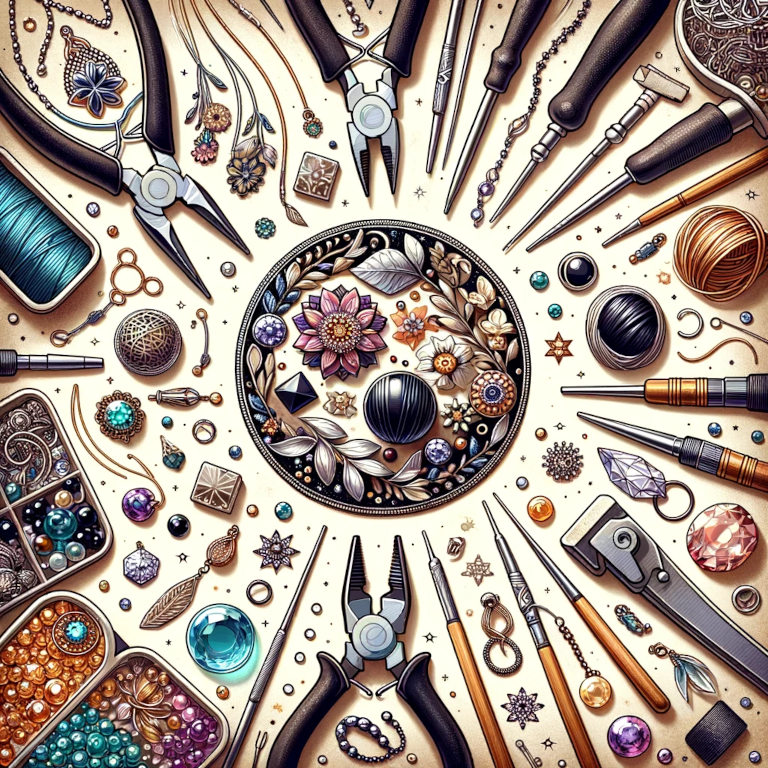
To begin, you will need some basic supplies:
- Beads and Gemstones: Choose from a variety of shapes, sizes, and colors.
- Wire and Clasps: Essential for structuring and fastening your jewelry.
- Pliers and Cutters: Tools needed for manipulating wire and other materials.
- Findings: Components like jump rings, ear hooks, and pin backs.
Techniques to Master
- Stringing: The simplest form of jewelry making, perfect for beginners. It involves stringing beads onto a thread or wire and securing them with a clasp.
- Wire Wrapping: A more advanced technique that involves bending wire to create intricate patterns and secure gemstones without the use of soldering.
- Casting: For those looking to get truly professional, casting involves making jewelry from molten metal, though this requires more advanced equipment.
Step-by-Step Guide to Making Your First Piece
- Design Your Piece: Start with a simple sketch or layout of what you want your piece to look like.
- Gather Materials: Based on your design, select your beads, wires, and other necessary materials.
- Cut and Prepare Your Wire: Use wire cutters to cut the desired length, and pliers to bend it into shape.
- String Beads: Arrange your beads on the wire or thread as per your design.
- Secure the Ends: Use clasps and findings to secure the ends of your necklace or bracelet.
- Final Adjustments: Make any necessary adjustments to ensure your piece is perfect.
Tips for Successful DIY Jewelry Projects
- Invest in Quality Tools: High-quality tools can significantly enhance your ability to work precisely and can improve the overall quality of your jewelry.
- Experiment with Materials: Don’t be afraid to mix different materials like metals with glass or wood beads for unique effects.
- Take Classes or Tutorials: Online tutorials or community classes can provide new techniques and inspiration.
Benefits of DIY Jewelry Making
- Personalization: Create pieces that are perfectly suited to your taste or make thoughtful, customized gifts for friends and family.
- Therapeutic Benefits: Many find the act of jewelry making to be a relaxing and meditative experience.
- Potential for Income: With skill and creativity, you can sell your handmade jewelry online or at craft fairs.
DIY jewelry making is not only a fun and rewarding hobby but also a way to express personal style and creativity. By understanding the basics and experimenting with different techniques and materials, anyone can begin their journey into the world of jewelry making. So gather your tools and materials, and let your creativity shine through each piece you create.